Monday, April 14, 2014

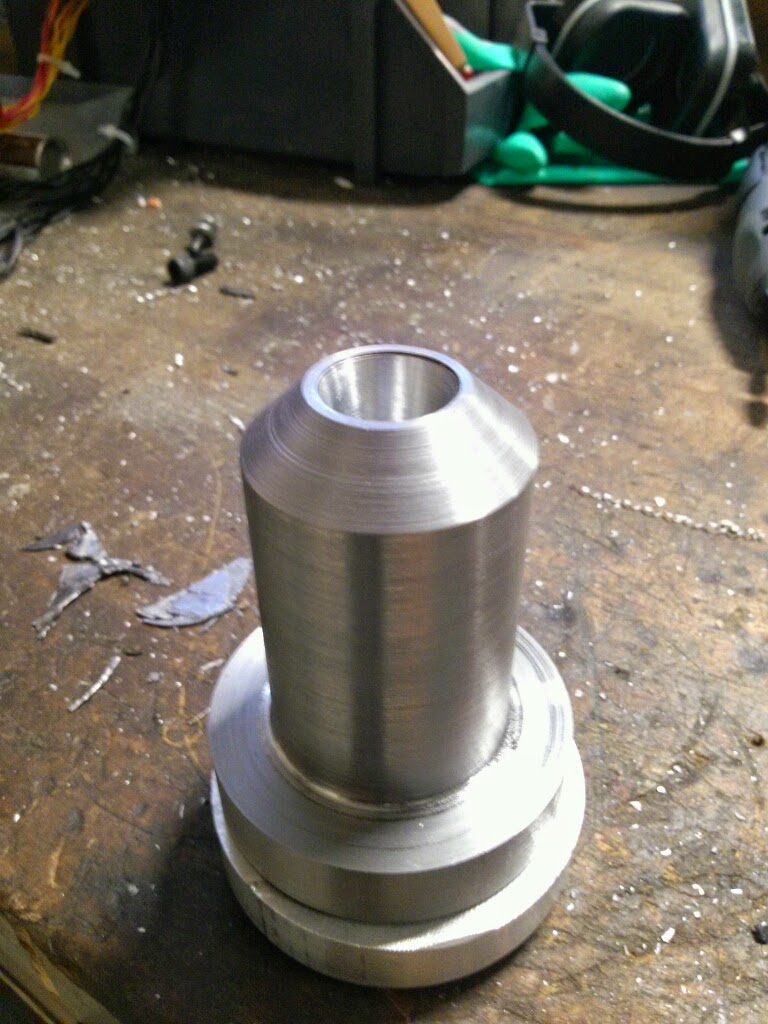
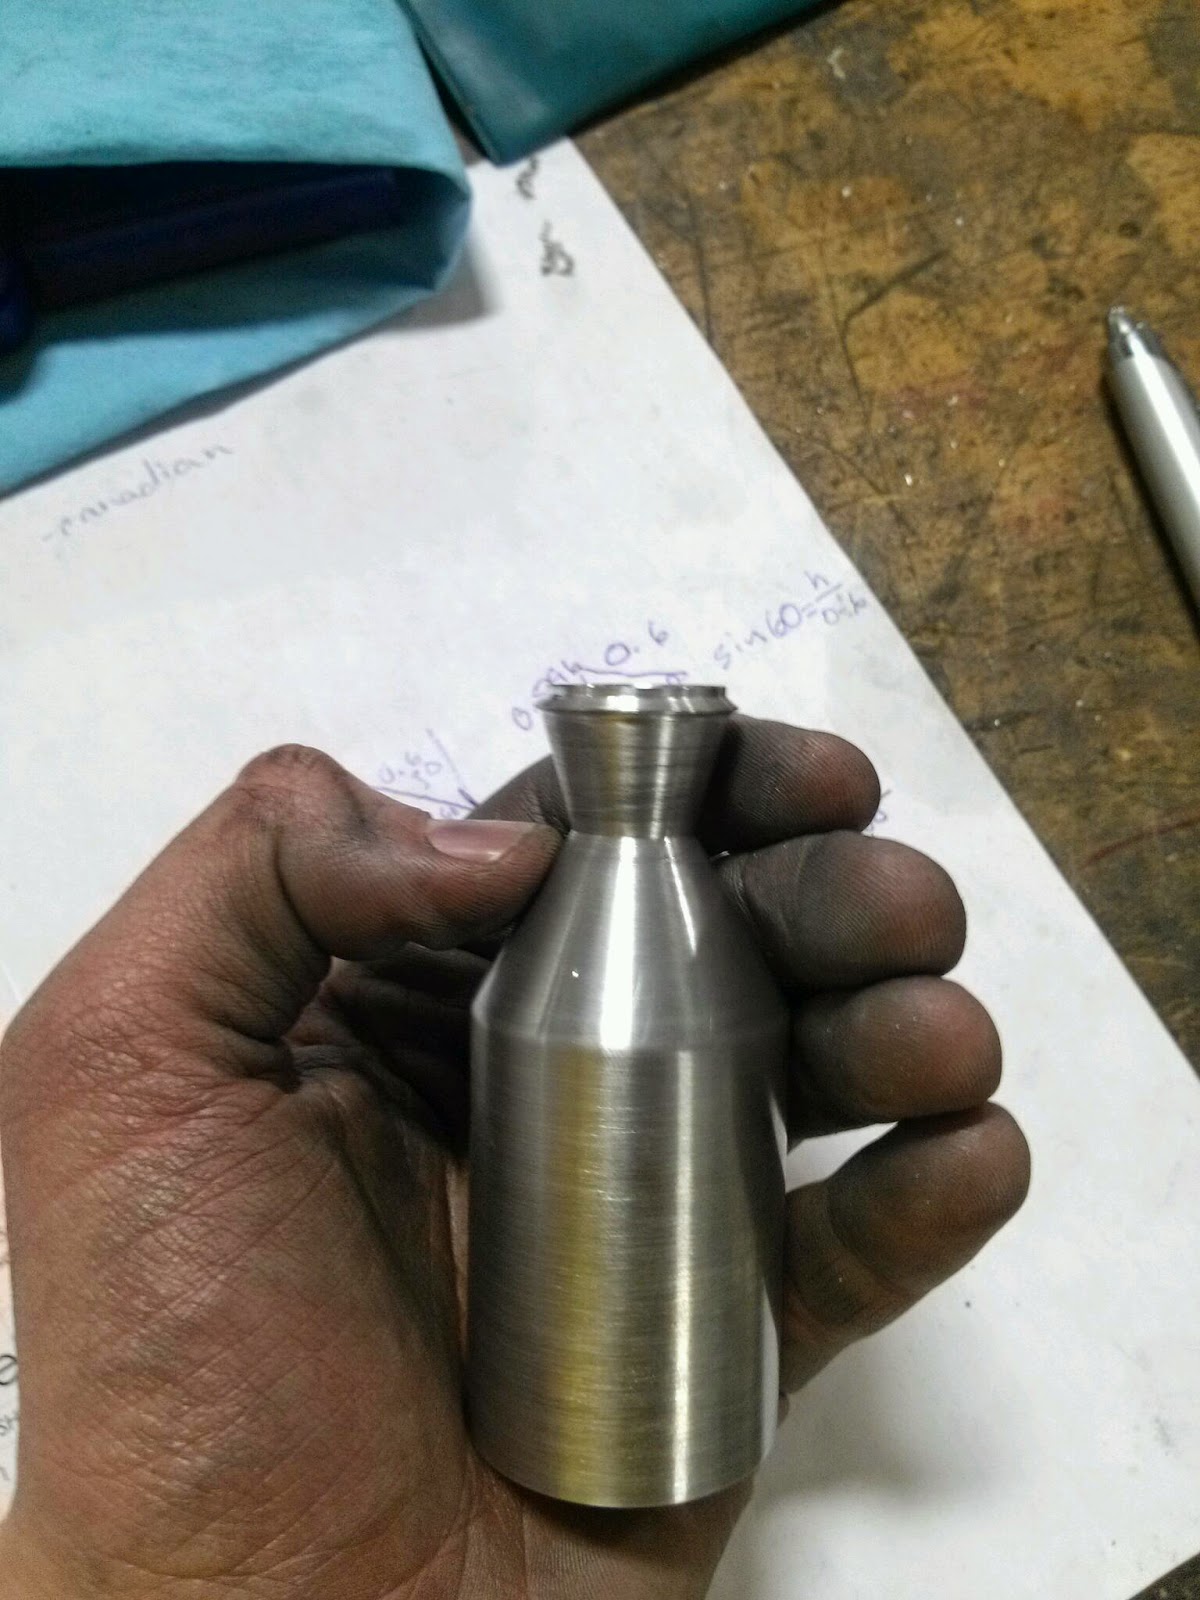
Day 22: Rethinking the injector design, fabricating the new injector plate, starting the bulletproof test enclosure

Finally got my capacitor in today but I have some stuff to rethink first. Firstly, that the store bought nozzle was a bad idea and no matter how much I work on it, it will stay so. Why you may ask? The most important part of a rocket's injection system is the flow rate. The suppliers of these nozzles do not have the same concern. They are more concerned with the spray patterns and distribution at given pressure differentials. My pressure differentials are arbitrary. Hand-wavy estimates between 10-30% of the combustion chamber pressure is the differential I need to overcome to prevent chugging and other oscillations. What -is- important is that my holes restrict the flow to a certain amount of flow no matter what the pressure differential is... That's why using a spray nozzle is a bad idea.

 So resetting with what I have learned thus far, I noticed that in testing the oxidizer flow I had to wait for the entire injection system to chill down to -40F before liquid made it out of the nozzles.  I feel a large part of the lag time comes from the bulk thermal mass that the nitrous has to interact with on its way into the chamber. So I will be moving the oxidizer to the inside of the injection pattern. I will also be thinning out the injector plate so that there is less too cool and it will also help me heat up the fuel a little bit quicker.

Apart from redesigning my entire injection system, the thrust stand is underway! I milled the main 1/8" steel plate to fit flush with the structure of the stand before starting to mount the top and bottom plates, also 10G steel with 10 1/4" steel bolts. Once I get my 1/4" lexan later today, I will cut and stack triple layers (3/4" total) on either side of the stand to complete the enclosure. In theory, it can take a 9mm bullet from any direction... hopefully we don't need to test that part out.  


Thursday, April 10, 2014

Sifting through the cold flow test data

The results from the testing extravaganza are in:

Fuel Flow Tests
Test Pressure  Start Weight Final Weight Time Flow Rate  Adjusted Flow Rate 
[psi] [g] [g] [s] [kg/s]  [kg/s]
1 400 166.25 453 27.94 0.0103 0.0115
2 400 166.5 455 29 0.0099 0.0112
3 400 166.5 455 46.61 0.0062 0.0070
4 400 166.2 444.4 40.05 0.0069 0.0078
5 400 166.3 363.5 28.24 0.0070 0.0078
6 400 166.3 456.3 26.65 0.0109 0.0122
7 400 166.4 463.6 37.12 0.0080 0.0090
Avg Flow Rate 0.0095
Stdev 0.0021
Oxidizer Flow Tests
Test Pressure  Start Weight  Final Weight  Time  Flow Rate   Adjusted Flow Rate
[psi] [g] [g] [s] [kg/s]  [kg/s]
1 400 166 454.2 2.17 0.1328 0.1237
2                           Invalid
3 400 166.1 366.7 2.09 0.0960 0.1078
4 400 166.2 366.7 1.75 0.1146 0.1287
5 400 166.2 366.7 1.76 0.1139 0.1280
Avg Flow Rate 0.1221
Stdev 0.0097


My design flow rate for the fuel and oxidizer are 0.0205 and 0.118 kg/s, respectively. I am in pretty decent shape when it comes to my oxidizer. I just need to get that new nozzle ordered. 

The I bought my nozzles from McMaster Carr where there is a wide variety to choose from. To be sure I am choosing the correct nozzle. I converted my flow rates to gallons/hour to match their website's data. Fuel being 24.8 gph.

Three of the nozzles I considered come with flow rate data which I adjusted for the specific gravity of my fuel:
Test Pressure Water Flow Rates Adjusted for IPA Flow Rates
[psi] [gph] [gph]
Nozzle 1 2 3 1 2 3
40 3.16 6.32 9.49 3.55 7.10 10.66
100 5 10 15 5.62 11.23 16.85
500 11.18 22.36 33.54 12.56 25.12 37.68
To make it easier to look at I made a graph:


One major factor I have to take into account is the fact that I am not dropping from 400 psi to atmosphere. I am dropping to 300 PSI in the chamber. This means I will have to choose a nozzle that will give me a flowrate of 24.8 gph at the pressure differential seen from the injector to the chamber. ~100 psi is safe but I can always go higher. This means nozzle 3 is the only thing that will put me near that range. 

The equation for the dotted line for nozzle 3 - adjusted is y=1.6864*x^0.4999. Solving for where y = the 24.8 gph that I need for my fuel I get an x of  ~216 psi. Meaning my line pressure will need to be 516+ psi.

I will check some other sources to see if I can get a lower pressure differential required before I make a decision.

Wednesday, April 9, 2014

Day 21: Cold Flow Testing Extravaganza

I got my regulator for the nitrous supply! I couldn't wait to solve the mystery that has kept me awake many nights.... can you regulate nitrous oxide down to a lower and keep it liquid. Think about it: If nitrous boils and turns from a liquid to a gas at 760 psi (atmospheric conditions), can I reduced the pressure to 400 psi and still get "liquid" nitrous to the rocket... well I finally answered that question.

Stared by drilling out the 8 x 0.033 inch holes (about 1/32 of an inch) at a 30 degree angle, perfectly centered around the fuel injection nozzle. 

I also got to do full pressure water testing of all the fuel systems. Being that my original design intent was to have an 80 degree full cone spray nozzle you can see that the 160 degree hollow cone that I ordered by accident doesn't line up very well. Also the nozzle is producing about half of the fuel flow that I need. I placed the order for the new nozzle today. 


Looks pretty liquidy to me!


Tuesday, April 8, 2014

Day 20: Fuel injector flow testing and cooling system test

Finally gave up on putting everything on hold until the capacitor arrives to test the cooling system. I took it outside and hooked it up to my car battery just to see. One reassuring thing is that the swirl that I designed into the jacket continues on as a vortex in the return line. As seen in the second picture.

I pressure checked the fuel system up to its design 400 psi and ran some water tests through it trying to profile the flow rate of the nozzle. I did two types of flow testing. I collected the water, weighed it and divided it by the time. Another (as seen in the video below) where I put a discrete amount of water into the tank and timed it until it emptied.


Friday, April 4, 2014

Day 19: Thrust stand, electronic control panel, finished the outer jacket

Got a lot done today!

You can see in the simulation of the thrust stand that I set it up for worst case scenario. I put all of the force on the top beam to see how bad it would react. The max stress ended up around 2600 psi in the frame which is still very safe. The simulation (video 1) is exaggerated the movement so you can see it but it only moved 70 thousandths of a inch or about 1/16th so it will perform just fine once I have it all beefed up.  I know I am not going to get this right the first time so I plan to have 1/8" steel blast shields and bulletproof glass in the final design.

Other than that, I did a lot of dremilling and hammering to get my control panel into shape. After which I started to move the power supply over and get some of the buttons put in place.

The outer jacket lined up perfectly with the nozzle so I just have to get on the injector plates and I'll be ready to go.


Wednesday, April 2, 2014

Day 18: Power supply arrived spent about 5 hours piecing the electronics together

First things first, I've got to void this 450w power supplies warranty! After a little bit of a trim, I took every other lead available and soldered it to the 12v rail since that's all I'm going to use it for.
A good two hours of work got me to the point of testing it with the coolant pump. I wired it all up and threw the switch and... nothing. I let it sit for 10 mins and found that the overload sensor had faulted. Clearly I'm going to have to add a capacitor for the initial start.
I checked to see if the psu could at least power the solenoid... you can see the results! Things are coming along!

Tuesday, April 1, 2014

Build Day 17: Finishing the thrust chamber v2 and hogging the steel jacket


This 1.2 inch end mill is the greatest tool ever invented. The boring takes about a minute and it leaves only a 100 thousandths to bore out after it finishes cooling. Saves a whole day of work compared to the old-fashioned way i was doing it before. While it was cooling I figured why not get a start on the thrust chamber... 6 hours later....done. At least I am getting a lot better at this!

Currently, I am waiting on the 450 watt power supply ($20) and nitrous oxide regulator ($50) to come in so i can get to testing the solenoids and injection systems. I will post pictures of those as soon as they come in.