Monday, June 19, 2017

An idiot swinging around a 100 AMP plasma arc!


Building the Thrust Stand

It took about a week from concept to build to get my thrust stand built. I had a hard time deciding between a horizontal and vertical thrust stand configuration. After weighing the pros and cons along with my experience using a horizontal test stand, I chose to go with a vertical setup because the ultimate aim will be to design a flyable motor. I also made sure to allow the test stand extensibility so that I could mount a rail in the future and test the entire rocket in a flight ready configuration. Another driving consideration was the testing of several experimental motor designs. My horizontal stand was troublesome anytime my rockets would not start because the chamber would fill with fuel that I would have to manually clean out between tests. The vertical position of the motor will help prevent a hard start from accumulated fuel.

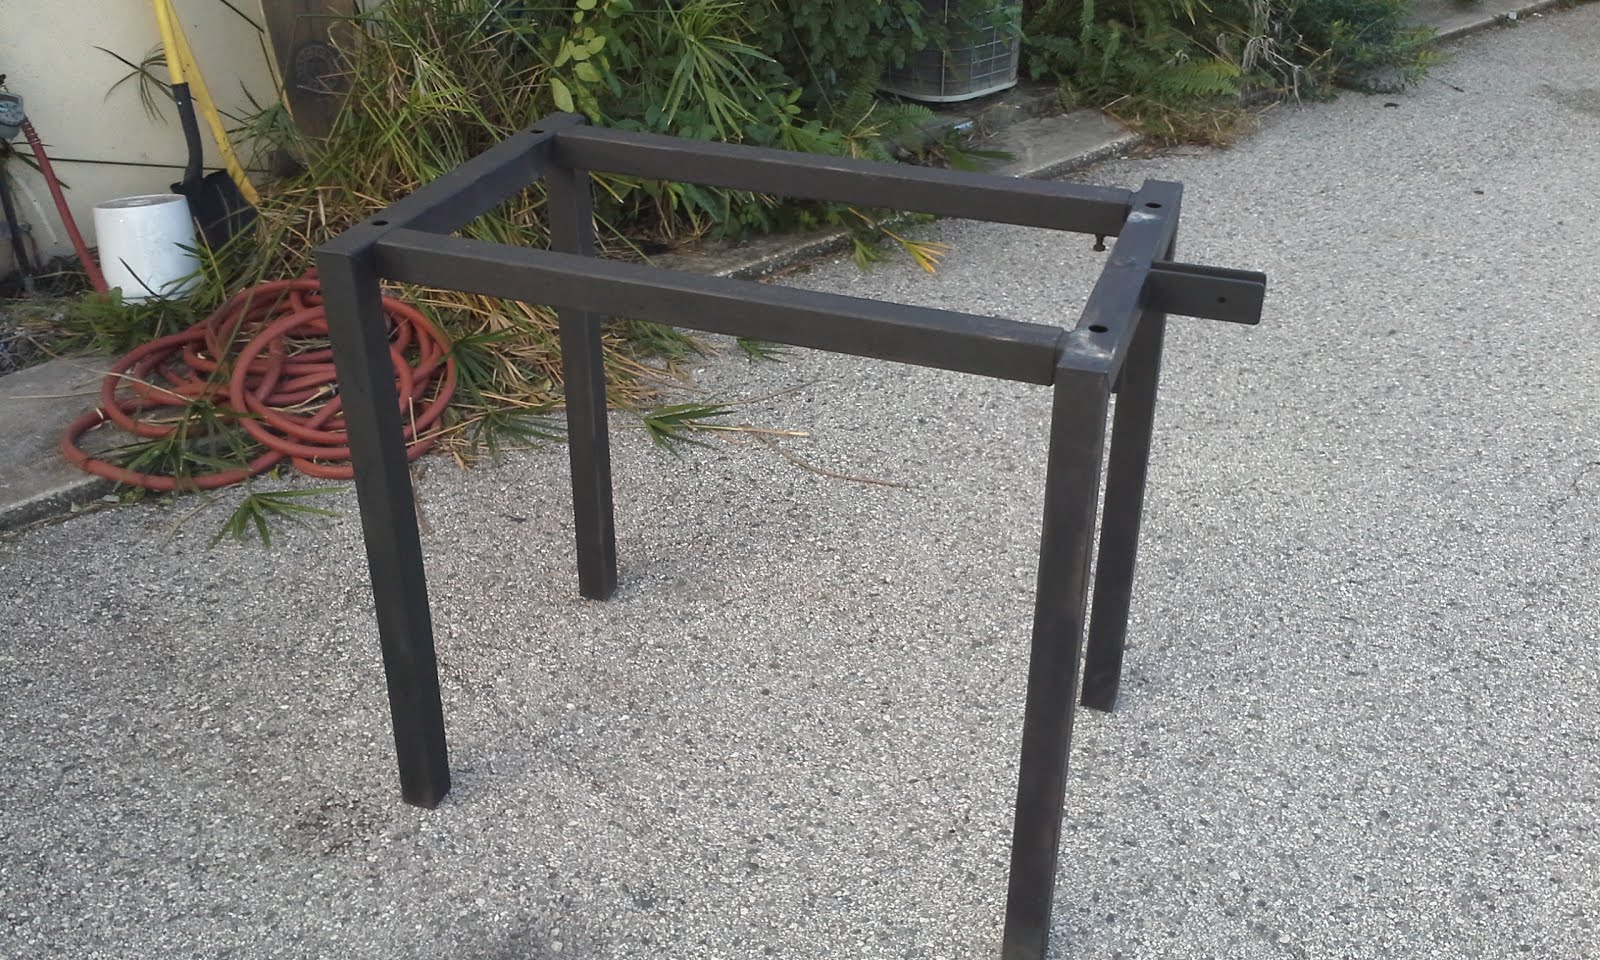
The design is centered around a 1.5" x 1.5" x 1/8" thick walled square tubing backbone welded to 2" x 2" x 1/4" walled square tubing. The reasoning for such a strong base is that if I am testing a motor generating 1000 lbf then I will have to hold it down with at least that. Having the thick legs will allow me to weld on brackets that I can bury underground or mount to a concrete base.


There is a 24" x 20" shelf that will hold tanks and electronics. The verticals supporting the shelves were specifically one piece welded straight to the base so that they can act as a structural element should I need further reinforcement in the future. On the 1 ft over hang and 3 foot face there will be blast shielding to protect all of the electronics and isolate the pressure tanks in an explosion. I also plan on putting blast shielding around the pressurant tanks because they are simply 3 inch OD with 1/2" walled 6061 pipes that have caps welded on the ends. They aren't exactly hydro-testable.

I built a CAD model using FreeCad then using the FEM workbench I ran an analysis with 5000 lbs of force on the overhang. The upper surfaces of the legs are fixed and the trailing edge was fixed to act as a fulcrum. 5000 lbf was empirically determined to be the maximum amount of force before the stand started approaching plastic deformation. I only intend to test up to 500 lbf currently so there is plenty of a FoS to account for my shoddy welds (I've never stick welded before) with my homemade stick welder.
You can see my welder here
This was a great chance for me to learn how to stick welding because of the thickness of the
metal. Not having to worry about burning through allowed me to focus on the molten puddle. I first tried with 1/8" 6013 welding rods but it turns out my welder didn't have the amperage to maintain an arc so I went to 1/16" 6013 and it struck great but not much penetration so I settled on 3/32" and this seems to work just fine. What I lacked in quality of welds I made up in quantity!
A shameless presentation of unarguably my best weld on the stand


FreeCad CAD Modeling & FEM Software

This was my first time  using FreeCAD .I don't really know much software but I do have a lot of CAD modeling experience so that I at least knew how things should work. If this is your first time CAD modeling, I would recommend using a free trial of SolidWorks or ProE first because there are a lot of step-by-step tutorials at YouTube University. Once you get a feel for the flow of these softwares then you could move onto FreeCAD because there is not a lot of feed back and the tutorials online are fairly lackluster. At first I was having a really difficult time trying to understand the stress distribution in the model because of a hot spot that was created right next to a non-critical member. It was blowing my scale out of proportion.

FreeCad Default
I knew that this was useless to me unless I could figure out a way to adjust the color limits. So I poked around the source code for a few hours, I've never seriously coded in python, and came up with a macro that can probably be done more elegantly and in one line but it got the job done:

values = App.ActiveDocument.Results.StressValues
filtered_vals = []
Ulimit = 250
for v in values:
if v > Ulimit:
filtered_vals.append(Ulimit)
else:
filtered_vals.append(v)
App.ActiveDocument.Results.Mesh.ViewObject.setNodeColorByScalars(App.ActiveDocument.Results.NodeNumbers,filtered_vals)

I chose the Upper limit of 250 MPa because that is roughly where you are going to start running into plastic deformation and this is the result:

Much better

It improved my visibility into the stress distributions greatly!


I actually learned the most about the software after poking around under the hood. Overall, it is not a bad software if you already know how the software is supposed to perform and you can't beat the price. Free always fits in my budget!


Thursday, April 27, 2017

Upgrades

In response to the +/-3 thousandths that I found in run out on my mini lathe, I took executive action. I played golf, I pushed all my responsibility onto China since that's where the lathe is from and continued convincing myself that would solve the problem. Turns out this didn't solve anything. So I stepped up and decided to-do something.
I gutted the whole lathe to address my bearings. I upgraded to roller taper bearings. Took a week to get them via Amazon prime ($22) but they got here eventually. After chilling the spindle in the freezer and heating the bearings everything was eventually banged into place with a deadblow hammer and some chunks of wood. Run out is now +/- 1/2 thou and the machine just seems completely different. Smoother quieter tougher... great upgrade. I would attribute all of the change, solely to the bearings but I also bolted the lathe to a 60 lb piece of 1" inch plate steel.... effectively doubling the weight of the machine -might- have something to do with it but I will leave that to the muses to speculate. Fresh coat of paint (another upgrade from the ugly gree) gives it at least 5 more hp.

Saturday, April 15, 2017

Slow grind

Been building one day and one dollar at a time. Infrastructure is my new game. Couple grand in but still much to be done. Lathe and mill bought. Cylinders for brazing aluminum acquired. Materials ate in. Designs have been designed. My new rocket is going to be a 250lbf flyable model. It's a bit of a living mess for the time being but more to come.

Friday, January 13, 2017

Still at it!

Between work and life, time comes sparingly in waves. Yet, I grab hold of the loose straws of time that I get and forge progress! Sounds epic... if the follow up isn't 'yet very slowly'. More rockets are coming soon, hence I have saved enough for a milling machine, but here is some of what I have gotten done in the last year:

CNC Progress


Wall Mounted Computer


Lathe Upgrades


Smoker out of a 30 gallon water heater


Monday, February 1, 2016

And I'm back at it!

It has been a while since I have been able to get back into building rockets. After my career move down here to Cape Cavaneral, I have been rebuilding my infrastructure. Currently, my spare bed room in my apartment is has been converted to a rocket research lab and I have been aggregating all the tools that I need to continue development.

To date I have been able to equip myself with:

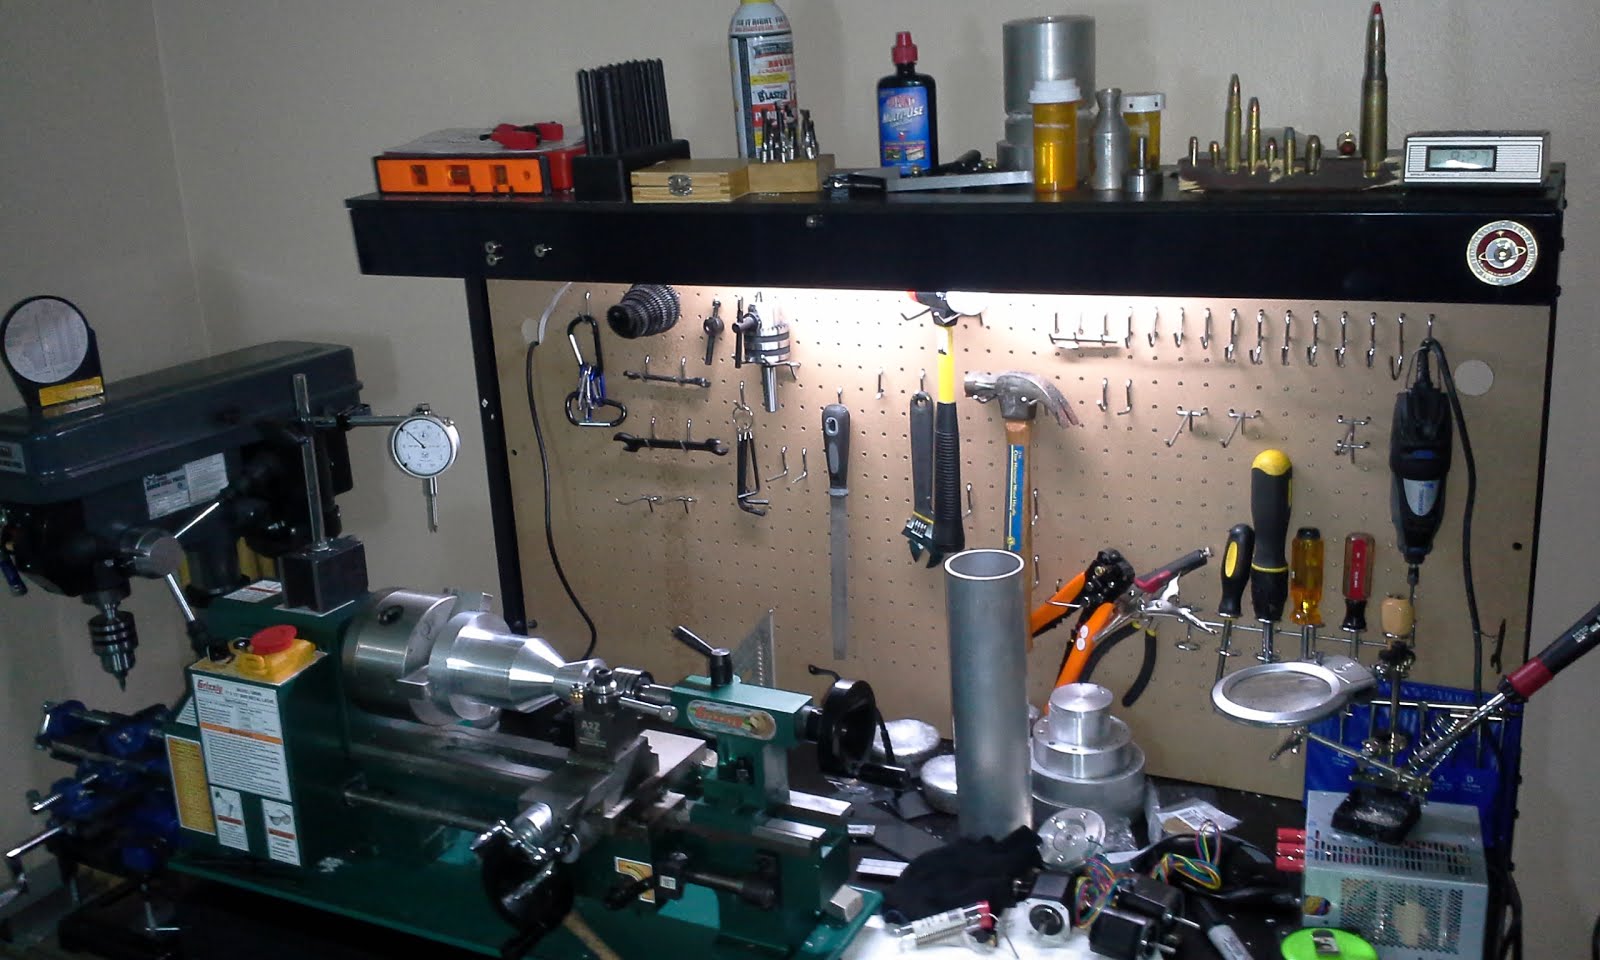
Grizzly 7x14 Lathe that I am upgrading with an arduino based power feed that will read the RPMs and move the tool at prescribed rates to give the best finishes and certain threads per inch.

90A flux core MIG Welder that I converted to DCEN with a 100 amp bridge recitifier, 94,000mF capacitor bank (40 individual capacitors), and a 40 turn torodial core inductor. The stock AC welder would barely even weld 1/8 in steel and even then it was very sporadic and popped slag//bb's all over the place. Since the conversion, the welder just sounds mean! A constant sizzling bacon sound with up to 1/4 in 4 thousands gap penetration with the settings only turned up ~3/4 of the maximum. I got the welder on sale for $80 then put $30 worth of electronic into the upgrade and its performance now is EASILY comparable to some of the $500-600 machines I have welded with in the past.

2 x 1000 psi regulators. One of which is oxidizer hardened.

I have also designed and started to build my thrust stand that will be able to host a variety of sensors, high speed loggers, and data acquisition instruments. I have been learning machine code and the fundamentals of optimization to develop my data loggers. So far I can get a sample rates nearing 5-7 microseconds which should be plenty of resolution for future testing.

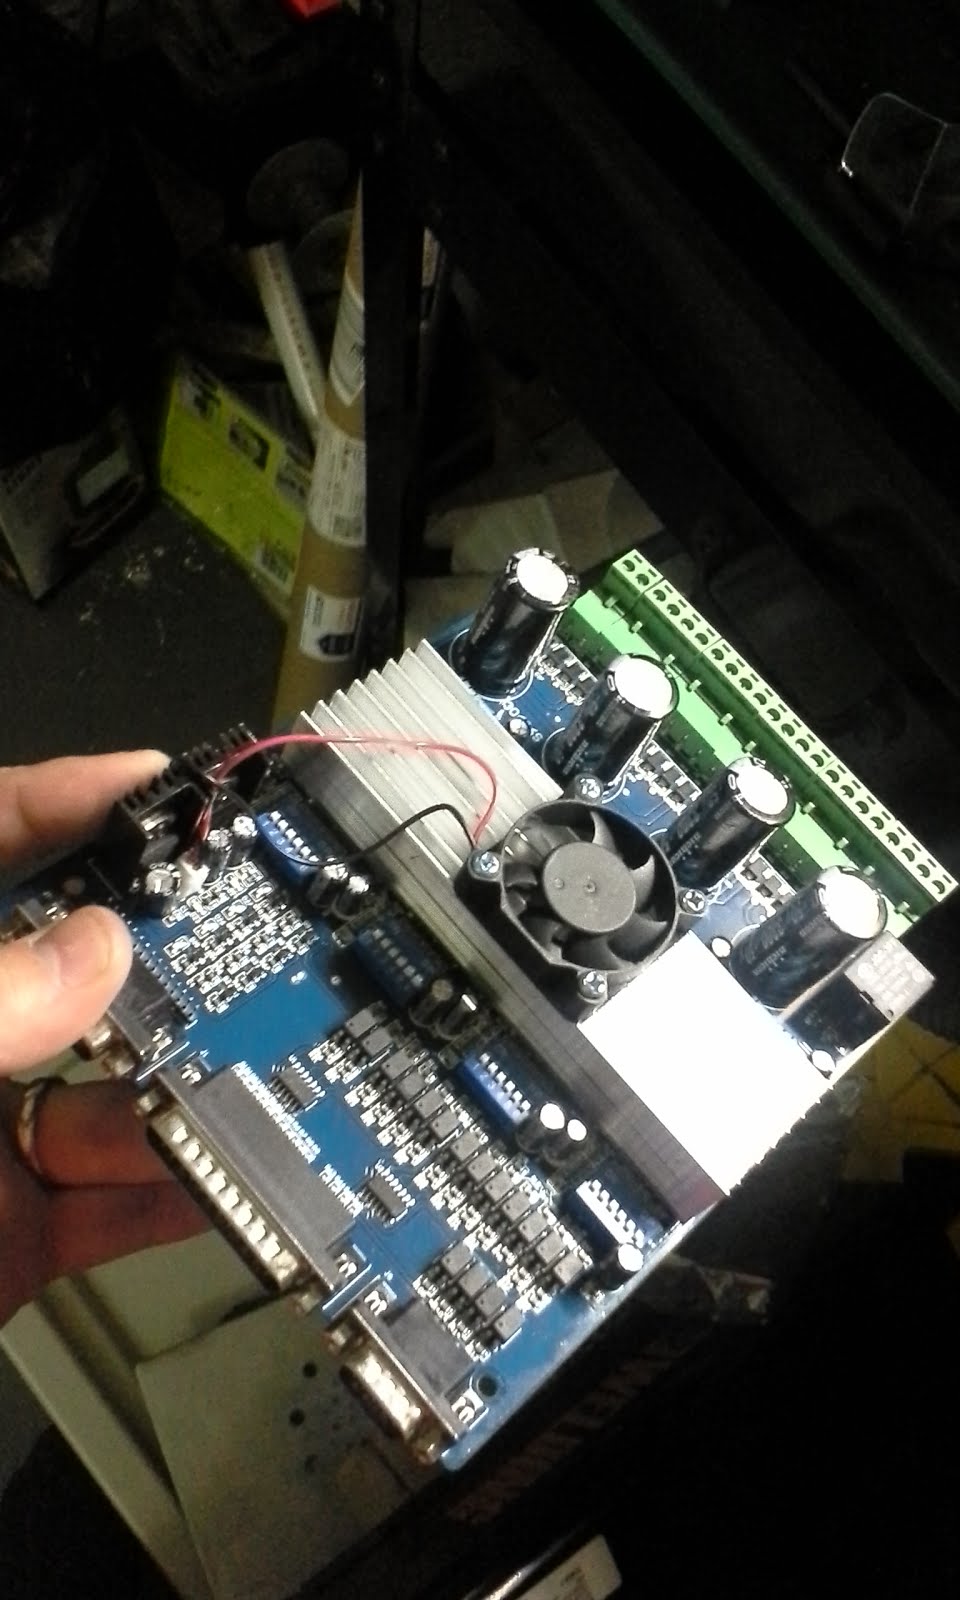
My latests efforts have been focused solely on the building of my 3 axis CNC router. It will serve as the backbone for roughing out blanks and cutting out my injector plate stacks. Eventually I will upgrade it to a 4th dimension on the router head and install a 4th axis spindle.


It will be primarily steel construction. Bed size is 32 x 21 inches made of 2in square tubing with 1/8 thick walls and the red gussets are 1/4 in steel plate. Currently, I have the base frame and gussets made. I also have all of the linear rails, bearings, 1-1/2 hp router, stepper motors, stepper motor drivers, all 1/2"-10 acme lead screws. Its just a matter of time before I can finally get this put together.

Welding Machine and welding table


Lathe Lab Setup

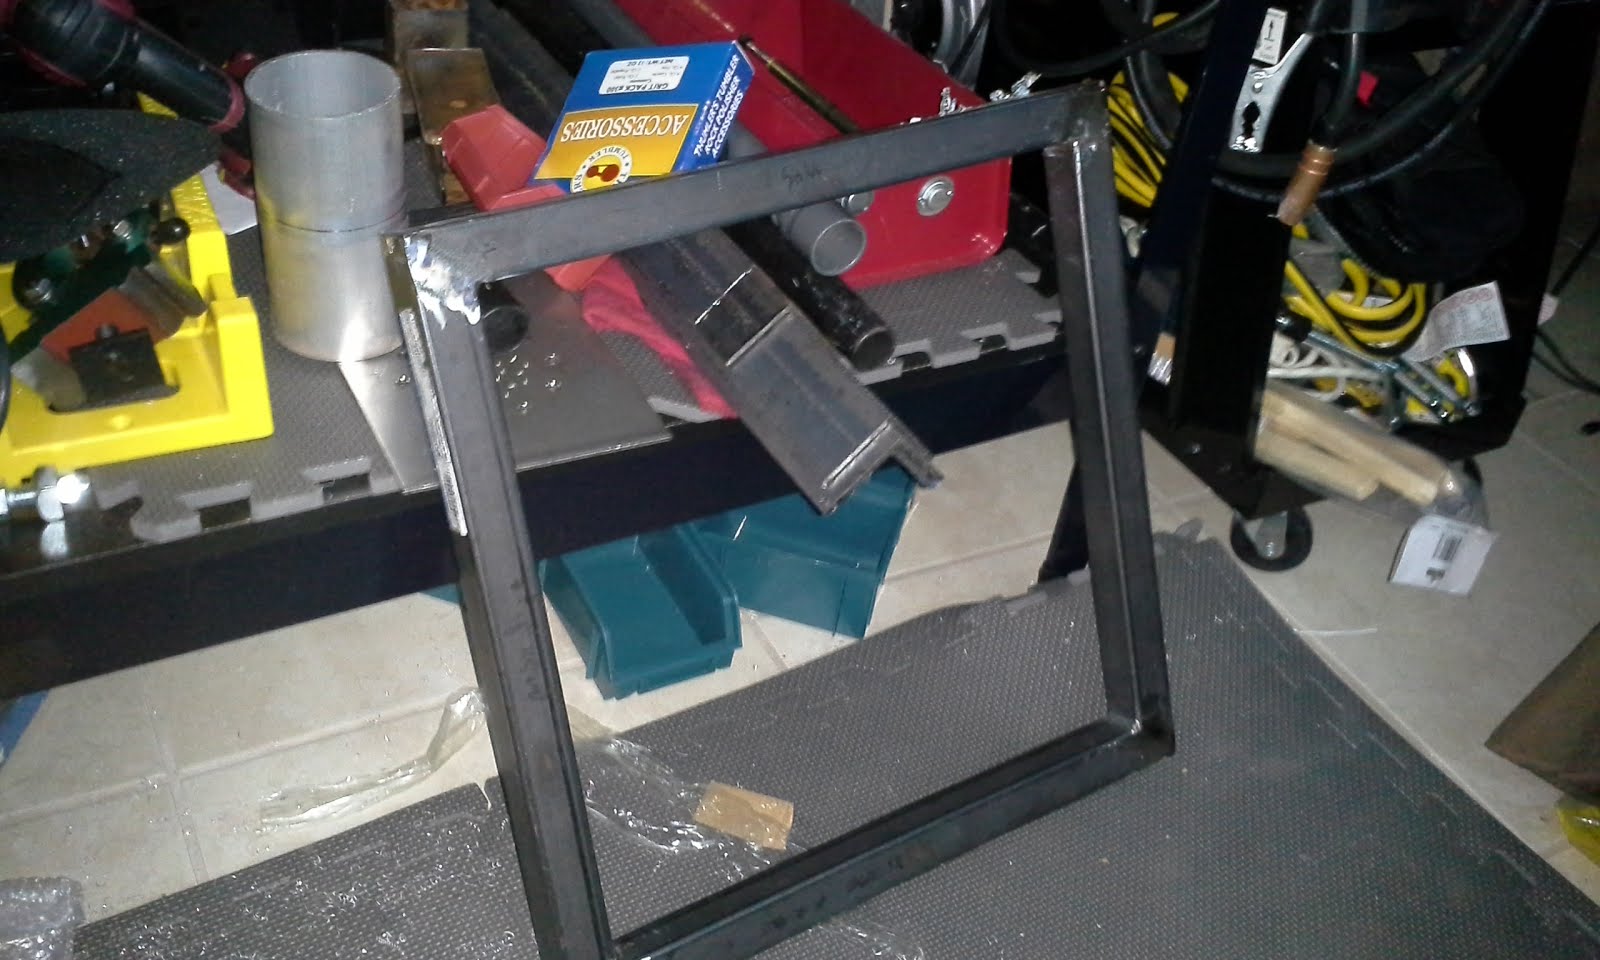
Thrust Stand Front Frame (19x19 inches)
CNC base frame and completed parts


Assorted Rocket Stuffs


Sorry for the explosion of pictures but I should be able to keep a more regular update schedule now that I am getting into the swing of things.

Thursday, September 25, 2014

HolliStar V2 Rocket Engine Tests Updated


Working at Cape Canaveral is interesting to say the least. SpaceX and Delta launches fly directly over my building a few times a month. I am about 3 miles from the launch pads. Talk about loud....


Finally, got all of the test runs together in one place. After the rapid disassembly of V1, I had over 25+ full 10 second burns using the HolliStar V2 without any major malfunctions other than a melting o-ring. I can't wait until I can get back to building rockets! I am building a website and should have it up soon. I will keep you updated!