Showing posts with label build a rocket. Show all posts

Wednesday, July 26, 2017

Down the microelectronic wormhole...

So I started this months ago, fully aware that this time around I would have to put in all the time building the data acquisition computer that I had skipped during my first rocket build. I knew that it would be a challenge. Now I know, I had no idea.

@TLDR Don't bother. Just buy a usb NI-DAQ 600X on ebay for less than $250. Set up your load cells, collect your data, and get it over with.
Now back to don't bother... I tried everything. I bought every arduino known to man. Then I hooked them all up and created archaic forms of multi-core multi-threaded processors with amplifiers and signal conditioners, one Chinese microcontroller + 2 months of shipping at a time. I spent a whopping $50 so far for a box of basically useless micro controllers that I have been able to get down to 497 Hz refresh rate. What a joke.
I have been building headers and bit banging my code over to a windows and then a Linux cpu. I have NI fpga's, computational servers, professional licenses for LabView and Matlab, experience writing Java and C, these are just some of other resources at my disposal for prototyping and I'm telling you now... 16 bit resolution at 200k samples per second is all you need and if not, reconsider what you are doing.
I bought the biggest and best micro processors and then coded them from scratch to no avail. The 2, 3, $400 dollars that NI costs is very worth it. I wish I could tell you I'm biased because I'm doing a review but no. It's just the truth, don't reinvent the wheel. There are no wheels in a rocket. 
@NationalInstuments Please give me a sponsorship.
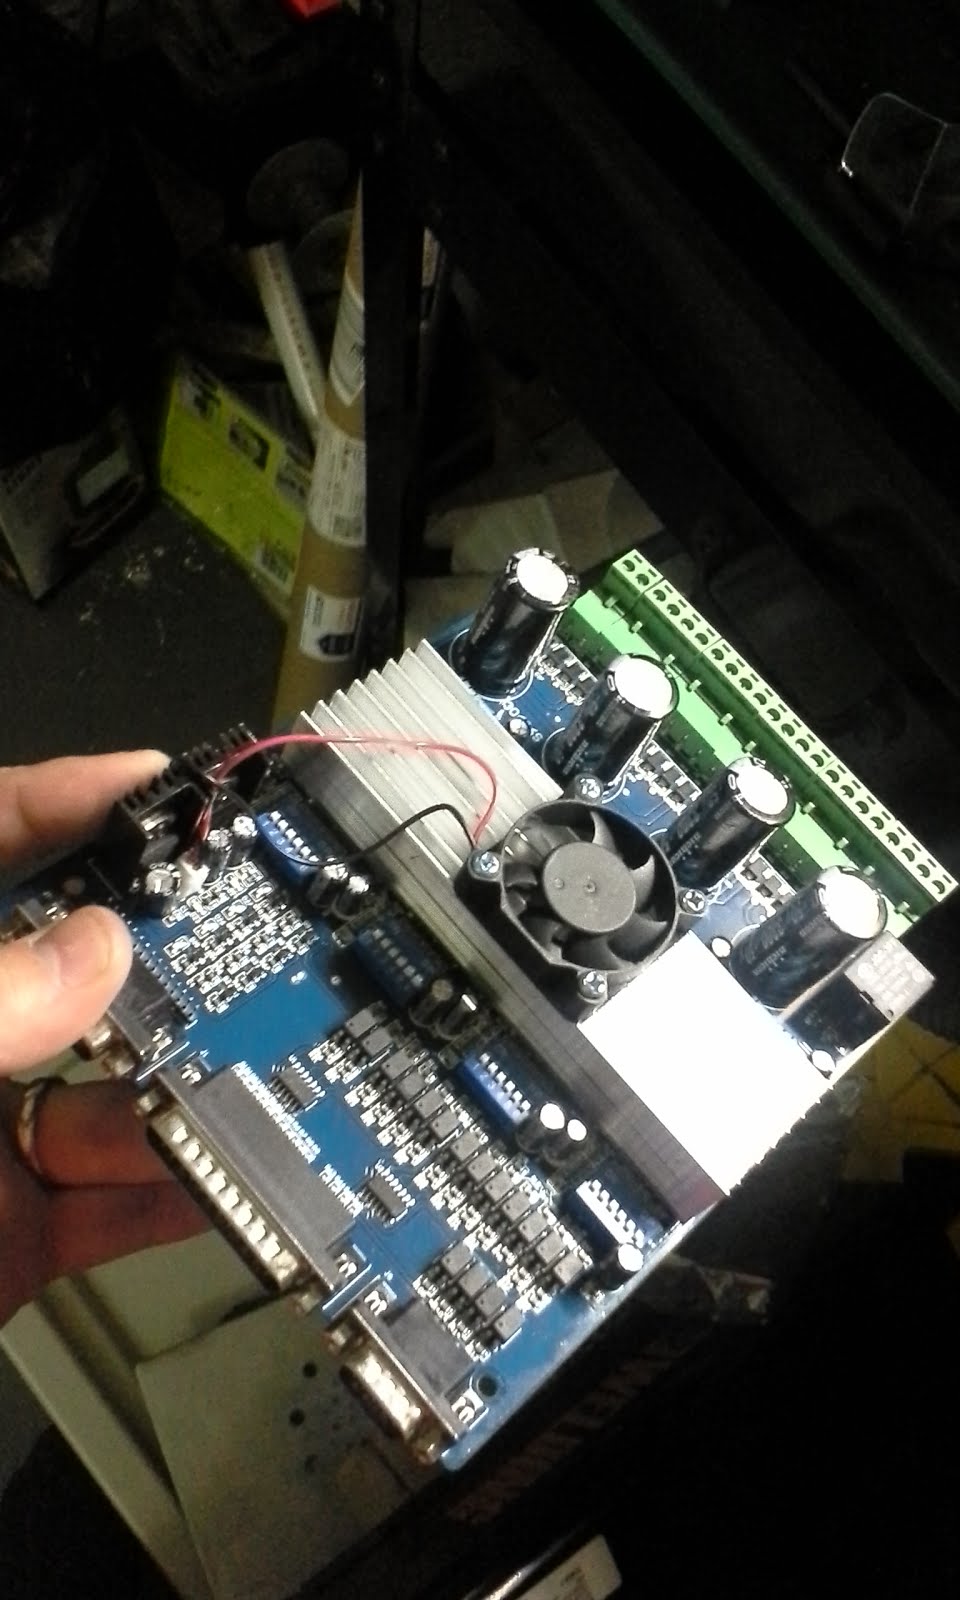
I will use the arduinos for all of the automation and electronic and pneumatic controls. I also plan to use the HX711 24-bit ADC load cell converters for the tanks because 100 Hz resolution is more than enough and at 24-bits I will be able to see femtograms apparently. For these I will have 3 arduino nanos embedded in the stand and they will communicated to a central arduino mega to report ambient conditions, tank weights, and switch/relay status via Serial. I will pick up the serial stream in LabView and use it to actuate some indicators and dials.  I will keep you updated as I make this important, stress-relieving shift.

Monday, February 1, 2016

And I'm back at it!

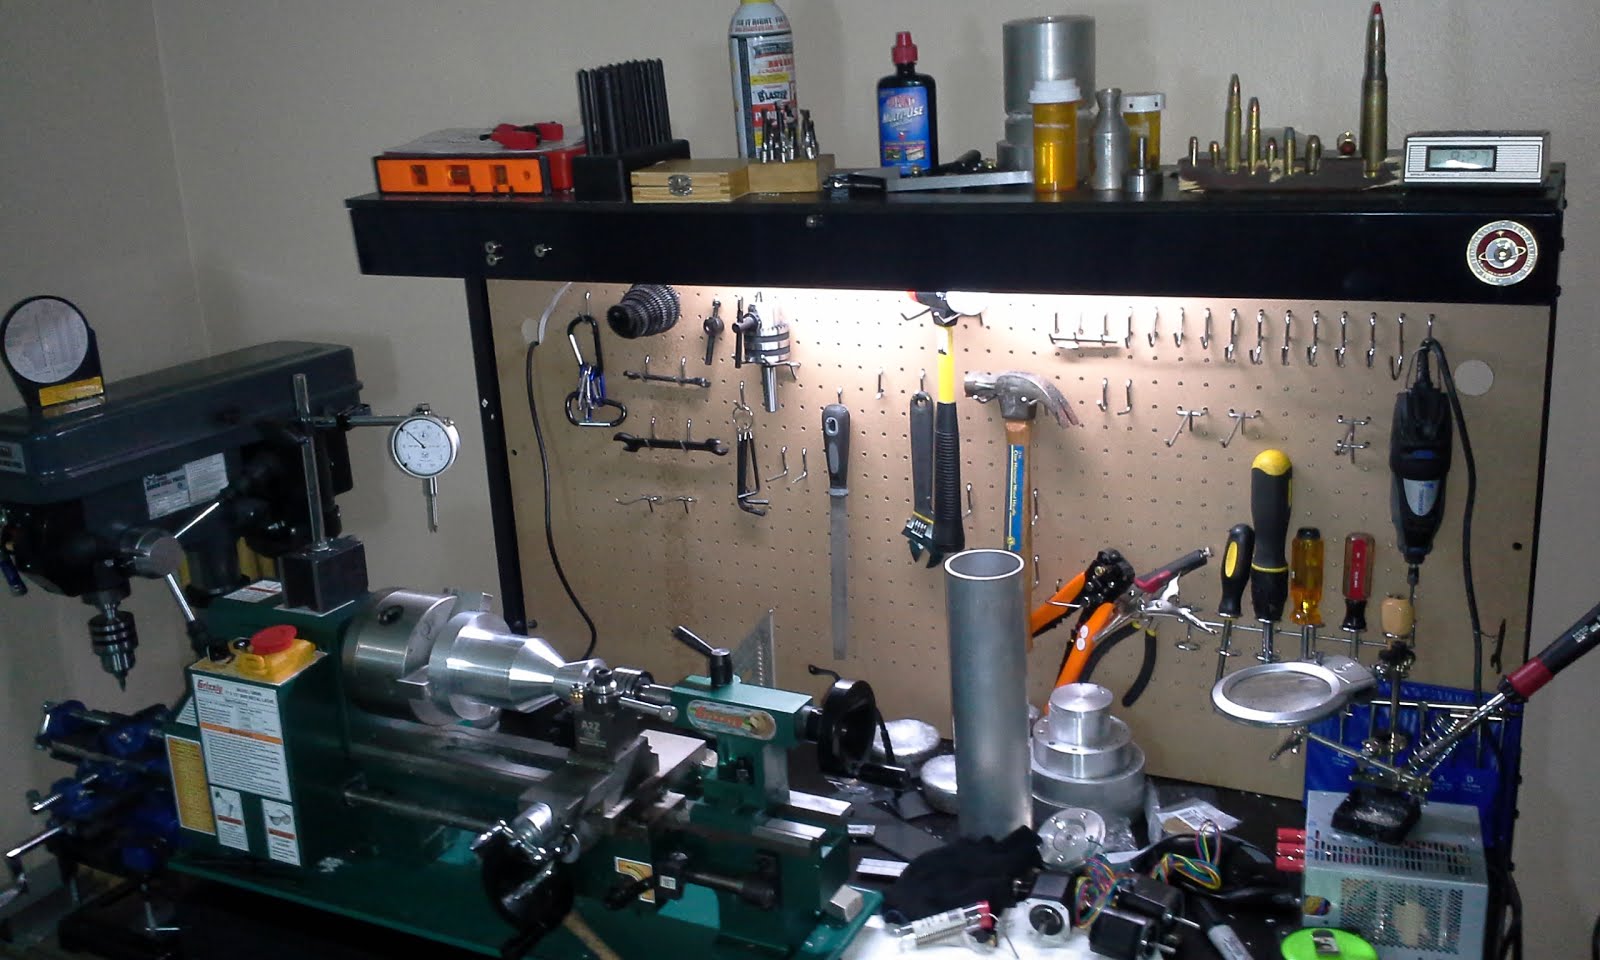
It has been a while since I have been able to get back into building rockets. After my career move down here to Cape Cavaneral, I have been rebuilding my infrastructure. Currently, my spare bed room in my apartment is has been converted to a rocket research lab and I have been aggregating all the tools that I need to continue development.

To date I have been able to equip myself with:

Grizzly 7x14 Lathe that I am upgrading with an arduino based power feed that will read the RPMs and move the tool at prescribed rates to give the best finishes and certain threads per inch.

90A flux core MIG Welder that I converted to DCEN with a 100 amp bridge recitifier, 94,000mF capacitor bank (40 individual capacitors), and a 40 turn torodial core inductor. The stock AC welder would barely even weld 1/8 in steel and even then it was very sporadic and popped slag//bb's all over the place. Since the conversion, the welder just sounds mean! A constant sizzling bacon sound with up to 1/4 in 4 thousands gap penetration with the settings only turned up ~3/4 of the maximum. I got the welder on sale for $80 then put $30 worth of electronic into the upgrade and its performance now is EASILY comparable to some of the $500-600 machines I have welded with in the past.

2 x 1000 psi regulators. One of which is oxidizer hardened.

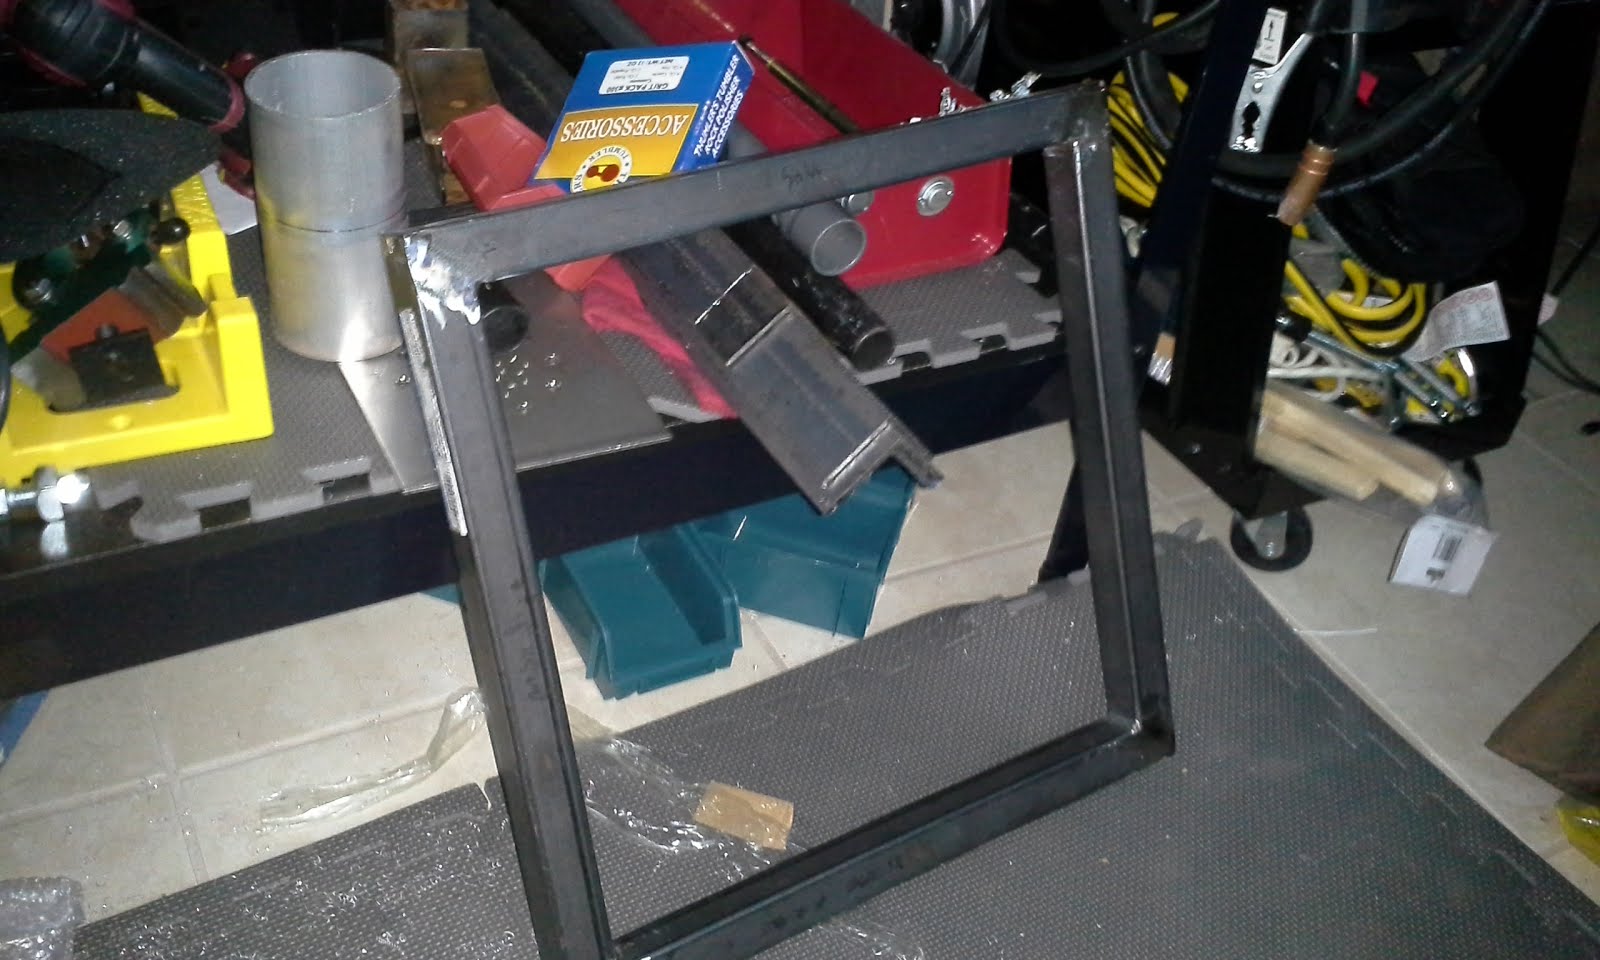
I have also designed and started to build my thrust stand that will be able to host a variety of sensors, high speed loggers, and data acquisition instruments. I have been learning machine code and the fundamentals of optimization to develop my data loggers. So far I can get a sample rates nearing 5-7 microseconds which should be plenty of resolution for future testing.

My latests efforts have been focused solely on the building of my 3 axis CNC router. It will serve as the backbone for roughing out blanks and cutting out my injector plate stacks. Eventually I will upgrade it to a 4th dimension on the router head and install a 4th axis spindle.


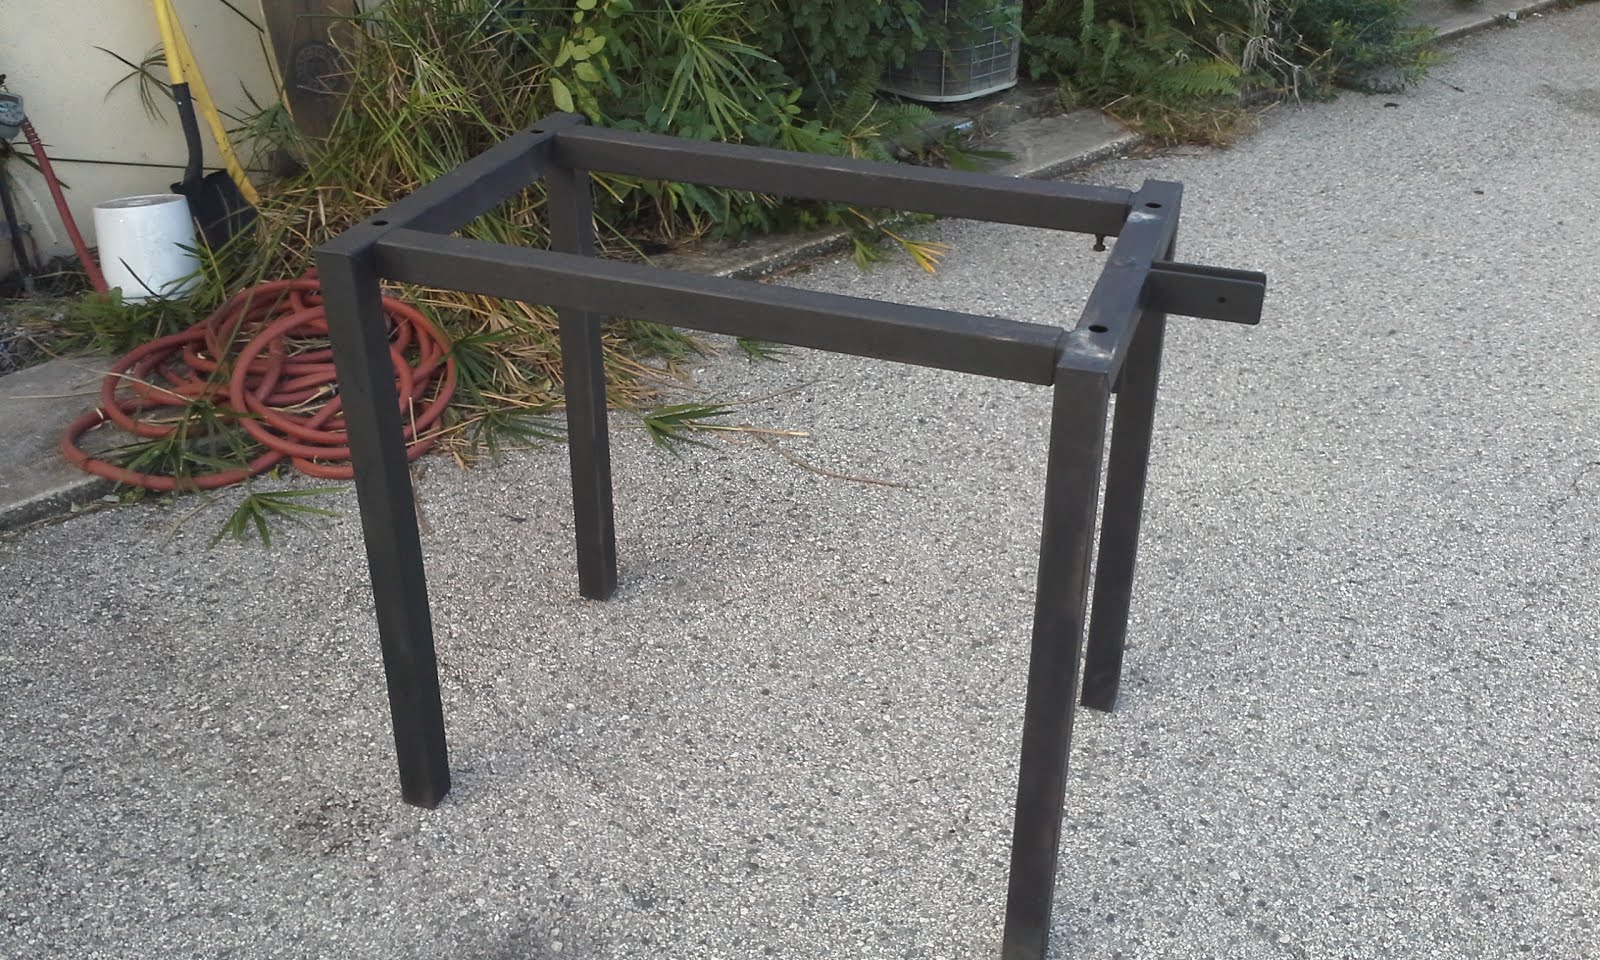
It will be primarily steel construction. Bed size is 32 x 21 inches made of 2in square tubing with 1/8 thick walls and the red gussets are 1/4 in steel plate. Currently, I have the base frame and gussets made. I also have all of the linear rails, bearings, 1-1/2 hp router, stepper motors, stepper motor drivers, all 1/2"-10 acme lead screws. Its just a matter of time before I can finally get this put together.

Welding Machine and welding table


Lathe Lab Setup

Thrust Stand Front Frame (19x19 inches)
CNC base frame and completed parts


Assorted Rocket Stuffs


Sorry for the explosion of pictures but I should be able to keep a more regular update schedule now that I am getting into the swing of things.

Thursday, June 26, 2014

The Pause of an Era

The month of June has been a very eventful one. Most significant is my career shift. I got a new job in Cape Canaveral working on rockets...imagine that! I packed up and moved down so now I am located in the rocket capital of the world! Sadly, this takes me away from the machine shop where I spent the past few months slaving over the tools building rockets. For the time being I will have to put my rocket engine building on hold until I can find a new home to get back to work. It does give me time to start developing a flight ready design with the knowledge I have gained.

The final tests before I had to see my baby go. These were the best/loudest tests yet so at least I left off with a wooooooosssshhhhhh and not a bang!
Fortunately, my rocket has a good home where it will serve as a demo model for Advanced Engine Technologies back in Dayton. I did manage to get a regenerative chamber designed and hastily machined so the next big step in that build will be to get an injector plate drilled up. So if there is anyone in the state of Florida that has access to machine tools please let me know and we can make
some sparks fly! I have a youtube playlist with all of my engine tests that can hopefully help inspire other to keep up the good fight! Please continue to share and offer me some feedback so that the next one will be even better!


This is the 100 lbf regeneratively cooled chamber! Coming eventually! I'll have more pictures as soon as I get unpacked.


Tuesday, May 27, 2014

V2 up and running

After a few days of runs, we finally got the engine to run correctly.  Some of our tests burn over 10 seconds which is about as much as I can squeeze into the tank. There is a YouTube play list with all of the test runs including some good mach diamond shots during day 3. HolliStar Liquid Rocket Engine: HolliStar Liquid Rocket Engine: http://www.youtube.com/playlist?list=PLPs8paqlFtFy6ad9Riu9larwPlQGtC6eC

Friday, May 16, 2014

Rocket Test Aftermath and Analysis


Surprisingly the coolant line burst and the brass fitting exploded.


This was the same hose that blew up in my face a few weeks ago.... apparently it is back for round two!


Its fairly safe to let the excess methanol burn off.


First look inside the combustion chamber


The injector plate is unscathed.


One good note is that the hottest part of the rocket (throat/nozzle) are completely untouched.


Exactly what I thought would happen happened. When I mounted the rocket on the thrust stand, I noticed that water was leaking into the chamber. I spent two days running through the scenario in my head and what happened is that the coolant is ~50 psi and the chamber is 300 psi. The hot gasses pushed their way around the gap and into the coolant line which causes the water to boil. The steam doesn't cool at all so a hot spot forms which melts the aluminum. This progressed along the chamber wall until the hole was over the coolant outlet. The pressure then pushed its way into the line which cause the explosion and exploded the fitting.

Now that I know the concept works (when everything is sealed properly) onto V2!

Thursday, May 15, 2014

SUCCESS!!!!!

HolliStar hot fire was a 100% success! Even the fireworks at the end were exactly as planned!


After two weeks and $187 of nitrous, an oxidizer solenoid bypass was used to get an igniter to burn in the chamber. Then comes the countdown 3...2...1...
The engine boomed into a roaring thunder that the recording does not justify.... FINALLY, its resounding bawl unshackled me from the cantena of unsuccessful attempts that had burdened me with doubt.The engine operated exactly as I spent over 400 hours designing, building, and assembling but it would never have been possible without the help that I got along the way. It was a wholly humbling experience.
Assuming that because I am an Aerospace Engineer, I am rocket scientist, was entirely false. The knowledge is potential. Conversion of potential to action is power. I can see now that all of the education that I received was simply following in the footsteps of great men. However, an Aerospace Engineer along with the help and support of:

Most importantly, thank you Lexi Soya. I don't know how you were able to tolerate my 24/7 rocket building schedule. You not only supported my investment of time and attention but encouraged me to keep pushing for my goal. There were many times where I came home simply defeated but you wouldn't allow me to give up...you and your contagious optimism. I didn't stand a chance and I thank you for it.

Thanks to Geoff Hollis, whom which the HolliStar Rocket is named after, because if he didn't teach me everything I now know about machining, it would have been impossible for me to build. He offered me his giant endmill, rotary table, indexing head, gallons of methanol from his slingshot dragster, his lawnmower battery, a military grade starter coil, welding of my custom tanks and most importantly insight for taking the ideas off the paper and realizing them.  Apart from that, he spent just as much time as I did rolling around on the floor getting it all to fit together and even lit the igniter in the video.
Brainstorming and Imagineering
Rick Pelfrey
Jim Kopasko
Suele Kabir

Electronics Consulting
Rhett Ward
Paige Harris
Dan Baumann

Unknowing Test Subjects
Branden Wright
Alex Soya
Logan Soya

The Mom Squad
Angel Brewer
Zee Soya

Encouraging Supporters
Rhett Brewer
Brandon Brewer
Jay Bracht
Emma Baumann
Jeff Gallese
Victoria McMurchy
Alex Cummins
Josh Cummins
Mama Cummins
Papa Cummins
Jon Thorton


NOW ONTO THE ROCKET!

I designed the rocket to operate for about 5 seconds and it operated perfectly through 3 seconds. I knew that there was a water leak into the chamber and that there would be a chamber burn through because of it. So even though the test ended in rapid disassembly, it went exactly as planned. I figured I may as well test how bulletproof my chamber since I was at it.


At start-up, you can see sparks from the aluminum melting where the coolant is leaking.
Next, the engine operates perfectly as the chamber heats up to half of the temperature of the surface of the sun.
Then the burn through happens.... fortunately the blast chamber held up!
Completion of a perfect first test run!

Though you can see 5 mach diamonds in the thrust, there were many more. The entire length of the flame had progressively weakening mach diamonds. I shot the video with a ND4 (Neutral density filter similar to sunglasses where I can take a 5 second picture in broad daylight) and it was still blown out by the white hot flames. I need to do more research as to how to record them.


Pictures of the aftermath and more analysis coming soon!

Wednesday, April 30, 2014

Day 29: WE HAVE IGNITION!

I spent the morning battling the leaky connection monster. After that war was finally won, I dragged everything out to the holding bay where we typically store the race team's tractor trailer (plenty of room) and gathered everyone who has been apart of the journey so far. The first test was with 91% IPA straight from the store. When I would run the fuel, there was a great flamethrower effect until I hit the nitrous. Then the flame went out... I tried a couple different combinations with the propane torch across the injector as my ignitor and I couldn't get the combination to burn. I then realized that my nitrous tank was almost empty and that very little liquid N2O was actually getting out of the injector. Coupled with the fact that there is only supposed to be a 100 psi drop across the injectors, the mixture was off balance. Since I can't dial back the pressure on  the N2O to anything less than about 400 psi, I let the gaseous nitrous flow and reduced the injector pressure to 45 psi to try to reduce the richness caused by the, now gaseous, nitrous flow. All this tinkering cause my crowd to dwindle.

I paired the correct flows with first fuel followed by oxidizer and IGNITION! The 10-15 foot flame roared to life with a thunder. The deep rumbling sound vibrated that whole building and then the masses poured back into the holding bay. There is no question about it. This is a real rocket.

After a couple tests of 91% IPA and 99% methanol (HEET fuel system cleaner), I had to get my nitrous tank refilled ASAP. I called around and it isn't as easy as I thought it was. All of the big companies like BOC and Praxair need either a letter from a race track or league documenting that you are using it for a racing application or they need to send a representative to your company to see that it is legitimate. Even though my company name is Advanced Engine Technologies....? I called around to a couple performance shop where I was finally able to find a company that would fill the tank today. The quote of $6 per pound was like hearing fingernails on a chalkboard. I did some research and found that price to be a little high of the average $5.50 per pound so I went to get it filled. Then the real tests began.

I tested 91% IPA, 99% IPA with some proprietary chemical that makes it turn yellow (Iso-HEET), and 99% methanol. There is no doubt that methanol burns the hottest. Methanol is on an completely different level compared to the more energy dense IPA. The biggest contrast was between the 91% and 99%. The 99% FAR surpassed the 91% in terms of intensity and burn rate. I expected a difference but not that big. The pictures help but the videos say it all.

99% IPA

99% IPA

91% IPA

91% IPA

99% Methanol

99% Methanol

99% Methanol

99% IPA
91% IPA
99% Methanol
99% Methanol Injection Pattern


Friday, April 25, 2014

Day 27: Things are coming together!

After three injector blanks and $30 of micro drill bits, I was finally able to get a plate drilled! The design called for 6 x 0.017" inch impinging fuel jets to be drilled and that was simply not going to happen. I wound up breaking the bit on the second to last hole. Being that I was so close, I drilled it out with a 0.023" bit with the intent of reducing the injector pressure drop.

I ran about 20 flow tests at varying pressures to verify the design...but before that I had to get my daily dose of adrenaline. It turns out that 300 psi max in the lines was no joke. At about 400 this finally gave out on me right into my chest. Like a bomb went off and punched me in the chest, I found myself stumbling around my rocket lab concussed from the BANG!


My ears were ringing for at least an hour. Luckily I had a back up hose and went right back to it getting the tests done... with ear protection on this time.


The stoichiometric flow rate is ~0.02 kg/s for a 5.7:1 O/F ratio. There is no surprise about the increased diameter increasing the flow rate to about double what I designed. Further investigation shows that at an injection pressure drop of 60 psi will give me a 2.5:1 O/F ratio which offers a fuel rich combustion that can reduce combustion temperatures by nearly 1000 K while producing an ISP just over 200 seconds. I'll take it! If worse comes to worst, I can drop to ~30 psi (10% chamber pressure and still push 4:1 O/F ratio.

I got a couple good pictures of the injection pattern. It stays nice and centered. I chose an injection normal for the central oxidizer and 45 degree impingment angle for the fuel.


You can see the diamond shape in the middle of the injector stream. That is from the middle stream getting impacted by the fuel stream from the outside.


Behind the scenes


And of course when I am finally done monkeying around, tragedy strikes when I am trying to be careful. My tank fell off the top of the rocket assembly. This should be an interesting set back.


Did both ends have to break off!? Should be interesting getting that out.


Sneak peek of all the systems! It's starting to look like rocket!